
Making advent calendars is a fun and accessable craft project for young and old alike. This holiday season, why not try your hand at making one yourself?
In our opinion, its never too early to start preparing for Christmas! Tasha loved Christmas and worked tirelessly making decorations, gifts, and baked goods for friends and family in the months and weeks leading up to December 24th. And all this hardwork certainly paid off! Christmas at Corgi Cottage was nothing short of magical--see for yourself in the beautiful documentary Take Peace!:A Corgi Cottage Christmas, now available on Amazon.
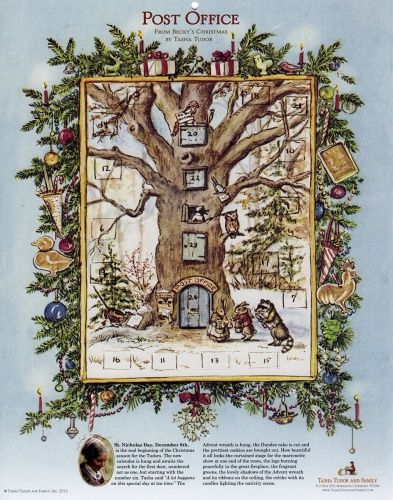
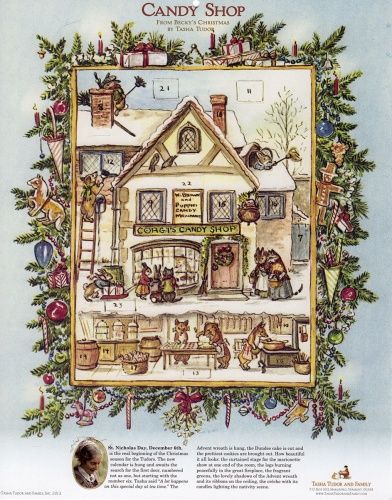
One of Tasha's favorite holiday traditions was making Advent calendars as gifts. Perhaps you have incorporated some of Tasha's beautiful Advent calendars into your own family traditions. Tasha Tudor and Family is proud to offer three different Advent Calendar styles on our online store:
In the spirit of Tasha Tudor, we thought you might like to bring this wonderful holiday tradition into your own home! Perhaps you can make a day of it! Invite friends and family over, cook something from our receipts section or from Winslow Tudor's new book, The Tasha Tudor Family Cookbook, sing some carols, and have a craft party a la Tasha! Enjoy!
Making your own Advent Calendar
(instructions and pictures from the much loved but sadly out of print Tasha Tudor's Old Fashioned Gifts by Tasha Tudor and Linda Allen)
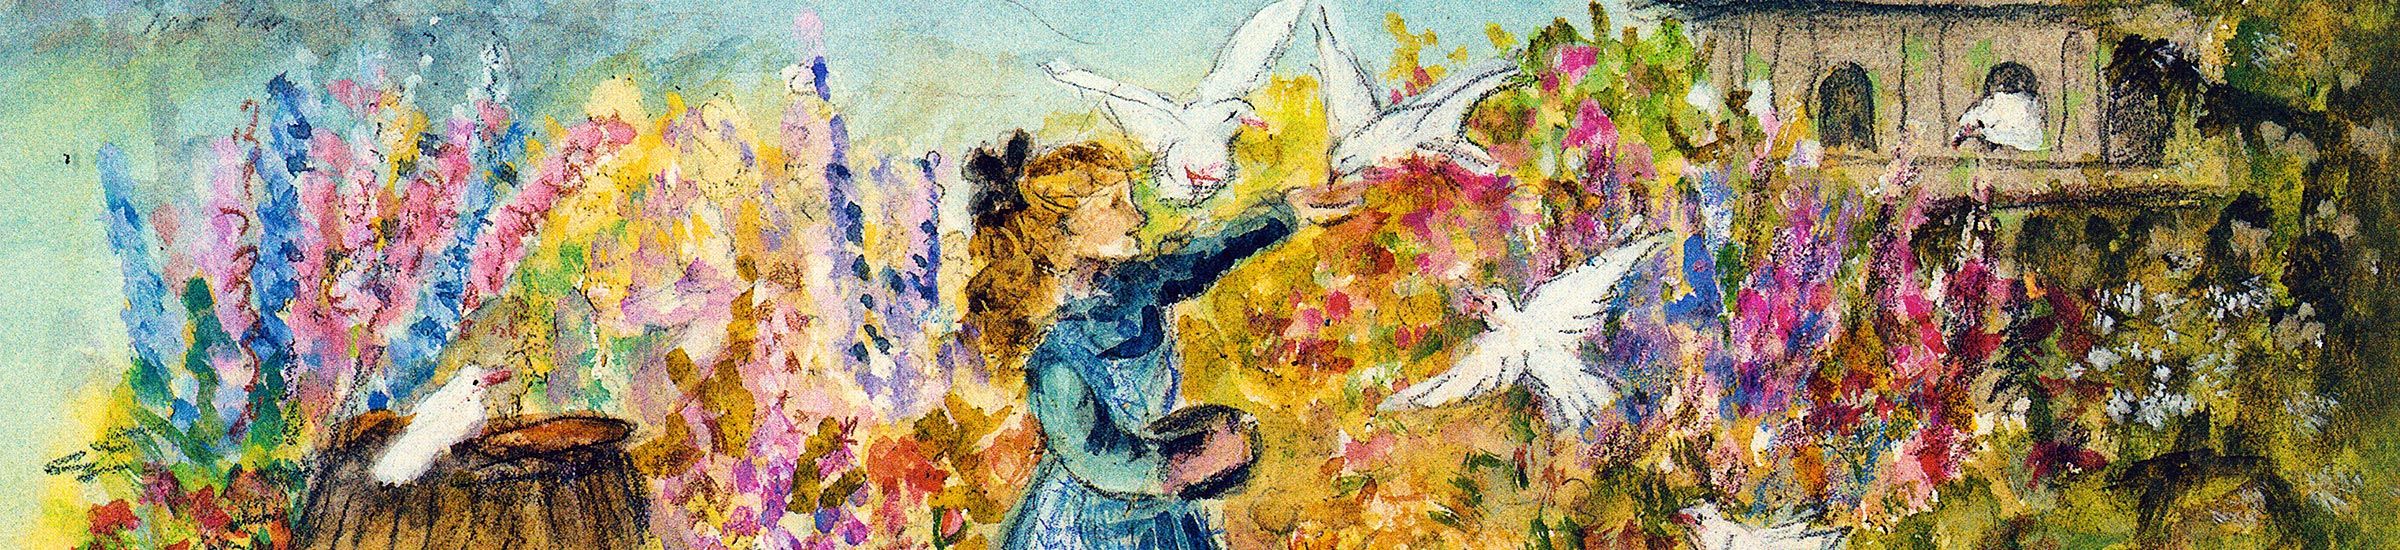
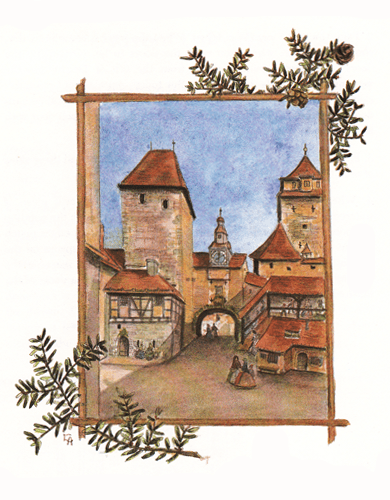
There are no strict rules for Advent calendar pictures. Half-timbered houses, villages, or forest scenes are often used, but the choice of picture is up to you.
Materials
(makes one calendar)
- 2 pieces of smooth water color paper
- watercolors
- watercolor brush
- heavy cardboard
- Scissors
- pencil
- ruler
- X-acto knife
- white glue or glue stick
- India ink and pen (optional)
1) When you have decided what scene you wish to have, cut one of the pieces of watercolor paper to the size you want your calendar to be, and draw your scene on it with a pencil. Allow a 1/4" border for the edges of the design. This border will not be painted because there will be less danger of getting glue on the finished picture when the two paper pieces of the calendar are glued together.
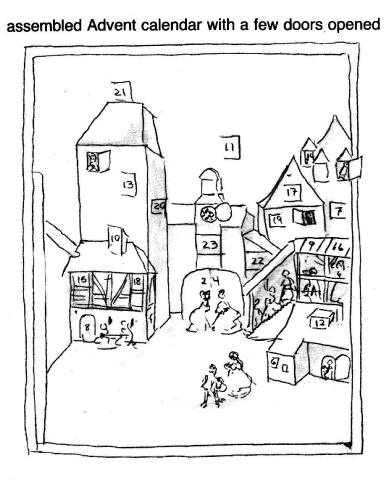
2) Paint the scene you have drawn. When the paint is completely dry, choose the places where you want the doors to be. (Originally, the doors in the Advent calendars dated from the 6th of December--the beginning of Advent--to the 24th. But today, most Advent calendars start on the 1st of December and end on the 25th.) Lightly outline each door with a pencil. With a pencil or pen and ink, mark each door with its appropriate number.
3) Place your picture on top of the cardboard and cut around three sides of each door with the X-acto knife.
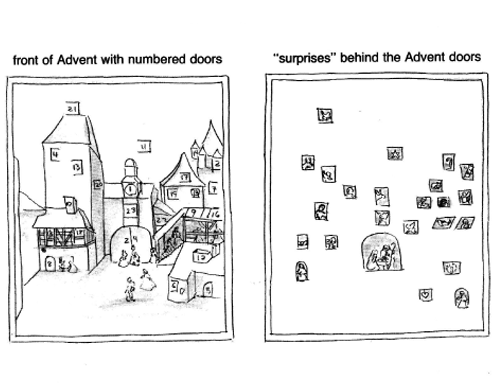
4) When all the doors have been cut, place the second piece of watercolor paper (cut to the same size as the one on which the painting has been done) behind your painting. Make sure that all edges match evenly. Open the doors of the calendar and mark the spaces on the backing paper that show through the open doors. In these spaces on the backing sheet, draw the surprises to be found behind the doors of the finished calendar.
5) Paint the little scenes, people, animals, or objects you have drawn on the backing sheet. When the paint is completely dry, neatly spread white glue 1/4" around the edges of the backing sheet. Place this sheet so that the paintings that will be behind the doors are properly aligned with the door openings.
Note: One thing to remember about a homemade, watercolor Advent calendar is that it must be guarded from sticky or wet hands. The least bit of water or dampness can ruin the design.